Choosing a home is more than just finding four walls and a roof; it’s about creating a space that fits your lifestyle, values, and long-term goals. Here are five key questions to help determine the best kind of house for you.
1. What’s Your Ideal Location?
Proximity to Work and Amenities: Consider how far you’re willing to commute. Do you need easy access to public transportation or major highways? What about local amenities like grocery stores, parks, or schools?
Neighborhood Vibe: Think about whether you want a quiet, residential neighborhood or a bustling area with restaurants and nightlife. Visit potential neighborhoods at different times to get a feel for the pace of life there.
2. How Much Space Do You Really Need?
Family Size and Future Plans: If you’re planning to expand your family or regularly host guests, consider a home with multiple bedrooms and flexible living spaces. But if it’s just you or you plan to live a minimalist lifestyle, a smaller home or condo could be ideal.
Outdoor Space: Think about how much you’ll use a yard or garden. If you’re an outdoor enthusiast or have pets, a house with a backyard might be a priority. But if you’re not one to spend time on landscaping, a condo with low-maintenance outdoor spaces might suit you better.
3. What’s Your Design Style?
Architecture and Interior Layout: Are you drawn to historic homes with unique architectural details, or do you prefer the sleek lines of modern design? Understanding your style helps narrow down the type of house that will make you feel at home.
Customization Options: If you love DIY projects or have specific aesthetic preferences, consider a home that allows for upgrades and renovations. On the other hand, a new-build or fully renovated home may be ideal if you prefer a turnkey space.
4. What Level of Maintenance Are You Comfortable With?
Time and Skills: Older homes often require more upkeep, but they can offer charm and unique features. Ask yourself if you’re willing to invest time and effort into home maintenance.
Financial Commitment: If maintenance expenses aren’t for you, a newer home or a condo (where exterior maintenance is usually covered by HOA fees) might be a better choice.
5. What’s Your Long-Term Vision?
Flexibility for Life Changes: If you’re planning a major lifestyle shift—like working from home long-term or moving in with a partner—choose a space that offers flexibility. Homes with extra rooms or open layouts can adapt as your needs evolve.
Investment Goals: If you view your home as a financial investment, you may want a property that’s likely to appreciate, like one in a growing neighborhood. Alternatively, if this is your forever home, prioritize comfort and location over resale value.
Ultimately, finding the right house means balancing practicality with your personal style and future goals. By answering these questions honestly, you’ll be on your way to finding a home that fits you perfectly.
As interest in real estate investment continues to grow, many potential investors are wondering if now is the right time to dive in. Here are some key factors to consider when evaluating the current market for real estate investments.
1. Market Conditions
The real estate market can vary significantly depending on location. In many areas, home prices have remained steady or even increased, making it essential to research local market trends. Identifying regions with strong growth potential can lead to more lucrative investment opportunities.
2. Interest Rates
While interest rates have been historically low, they have started to rise. This can impact mortgage affordability and overall investment costs. If you can secure a competitive rate now, it might be a good time to act before rates rise further.
3. Rental Demand
With ongoing shifts in work patterns, including remote work, many people are reevaluating their living situations. This has led to increased demand for rental properties in suburban and urban areas alike. Investing in rental properties can provide a steady income stream if managed effectively.
4. Long-Term Appreciation
Real estate has traditionally been viewed as a long-term investment. If you plan to hold onto your property for several years, short-term market fluctuations may be less of a concern. Investing now could lead to significant appreciation over time, especially in growing markets.
5. Tax Benefits
Investing in real estate offers various tax advantages, including deductions for mortgage interest, property taxes, and depreciation. These benefits can enhance your overall return on investment, making real estate an attractive option for many investors.
Conclusion
Overall, while there are challenges and uncertainties in the market, there are also significant opportunities for those willing to invest wisely. Assessing local conditions, securing favorable financing, and considering long-term goals can help you determine if now is the right time for you to invest in real estate. As always, consulting with a real estate professional can provide valuable insights tailored to your investment strategy.
Heavy rain and flooding can cause significant damage to your home and property if you’re not prepared. From flooded basements to road closures, extreme weather can bring a host of challenges. The key to minimizing damage and staying safe is preparation. Here’s how to protect your home and family before the next big storm hits.
1. Check Your Home’s Drainage System
A proper drainage system is essential to avoid water buildup around your home, which can lead to leaks and flooding. To ensure your system is ready:
Clean your gutters: Remove leaves, twigs, and debris to prevent water from overflowing. Blocked gutters can direct water down the walls of your home or into the foundation.
Inspect downspouts: Make sure your downspouts direct water at least 6 feet away from your foundation. Consider installing downspout extensions if necessary.
Grade your yard: If your yard slopes toward your house, water will naturally pool around the foundation. Regrade the landscape so that water flows away from your home.
2. Seal Basement and Foundation Cracks
Basements and foundations are particularly vulnerable to flooding during heavy rain. To prevent water from seeping into your home:
Inspect for cracks: Check your basement walls, foundation, and around windows for any cracks or gaps where water could enter.
Apply waterproof sealant: Seal any cracks with hydraulic cement or waterproof caulking to keep water out. For added protection, consider applying a waterproofing membrane or coating to the exterior of your foundation.
Install a sump pump: If your basement is prone to flooding, a sump pump can remove excess water before it causes damage. Make sure it’s working properly before the storm hits, and consider a battery backup in case of a power outage.
3. Clear Storm Drains and Gutters
Storm drains can quickly become overwhelmed during heavy rain, leading to localized flooding. To help water flow freely:
Clear debris from storm drains near your home: If you have street drains near your property, remove any debris that might obstruct water flow.
Check culverts and drainage ditches: If you have a drainage system running through your property, ensure that it’s free of blockages to prevent water from backing up.
4. Elevate Important Items
If flooding occurs, it’s important to protect your belongings by moving them to higher ground:
Move valuable items: Store valuables, electronics, and important documents in upper levels of your home or on raised shelves if they must stay in the basement.
Use waterproof containers: For items that can’t be moved, place them in waterproof containers or storage bins to protect them from water damage.
5. Check Your Roof
A leaky roof can cause significant water damage to your home’s interior during heavy rain. To avoid leaks:
Inspect for missing or damaged shingles: Replace any that are cracked, loose, or missing. Ensure that your roof is in good condition to handle heavy downpours.
Look for leaks: Check your attic for any signs of leaks, such as water stains or damp insulation. Address these issues before the storm to prevent further damage.
Trim overhanging branches: Trees with branches that hang over your roof can break and cause damage in strong winds or heavy rain. Trim them back to reduce the risk.
6. Install Flood Barriers
If your home is in a flood-prone area, installing flood barriers can provide an extra layer of protection:
Sandbags: Place sandbags around doors and windows to prevent water from entering. You can also use them to create barriers around your foundation.
Flood gates or water dams: More permanent solutions like flood gates can be installed in doorways or garages to block rising water.
Door and window seals: Install waterproof seals around entry points like doors and windows to prevent water from seeping inside.
7. Prepare an Emergency Kit
In the event of heavy rain or flooding, power outages and road closures can make it difficult to access essential supplies. Prepare an emergency kit that includes:
Non-perishable food and water: Have enough food and water to last your family for at least 72 hours.
Flashlights and batteries: Power outages are common during heavy rain, so stock up on flashlights, batteries, and candles.
First aid supplies: Include bandages, disinfectant, medications, and any other necessary first aid items.
Important documents: Keep insurance documents, identification, and other important paperwork in a waterproof container or ziplock bag.
8. Ensure You Have Proper Insurance
Even with the best preparations, some floods are too severe to prevent damage. That’s why having the right insurance is crucial:
Review your homeowner’s policy: Standard homeowner’s insurance typically doesn’t cover flood damage. Ensure you have flood insurance, especially if you live in a high-risk area.
Document valuables: Take photos or videos of your home and belongings. This will make the claims process smoother if you need to file for damages after a flood.
9. Have a Plan for Evacuation
If flooding becomes severe and local authorities recommend evacuation, having a plan in place is essential for a smooth and safe departure:
Know your evacuation routes: Familiarize yourself with local evacuation routes and have a plan for where you’ll go if you need to leave your home.
Keep your car fueled: Make sure your vehicle has enough fuel to get to safety, as gas stations may be closed or inaccessible during a storm.
Prepare for your pets: Don’t forget about your pets—make sure you have enough food, water, and supplies for them, and know where they can stay in case of evacuation.
10. Stay Informed
During heavy rain and flooding, staying informed can help you react quickly and appropriately:
Monitor weather reports: Stay updated on storm developments and warnings via local news, weather apps, or emergency alerts.
Follow local authorities’ advice: If you’re advised to evacuate or take specific precautions, don’t wait. Follow instructions to keep your family safe.
Final Thoughts
Preparing for heavy rain and potential flooding can significantly reduce the impact of severe weather on your home and property. By taking proactive steps, from checking your drainage system to sealing cracks and stocking up on emergency supplies, you can protect your home and ensure your family’s safety during stormy weather. Stay ahead of the storm and make sure your property is ready for whatever nature throws your way.
A dead tree in your yard can be more than just an eyesore. It poses safety risks, attracts pests, and can cause damage to your property if it falls. Removing a dead tree might seem daunting, but with the right approach, you can handle it effectively. Here’s a guide on how to safely get rid of a dead tree in your yard.
1. Evaluate the Tree’s Condition
Before you jump into removing the tree, assess its condition to determine if you can do it yourself or if you need professional help:
Size and proximity: If the tree is small or medium-sized and isn’t close to buildings or power lines, you may be able to handle it on your own.
Rot and decay: If the tree is severely decayed or has unstable limbs, it might be unsafe to remove without expert assistance.
Leaning or splitting: If the tree is leaning or has visible cracks, this increases the risk of falling unpredictably, so hiring a professional is often the safest option.
2. Check Local Regulations
Before you start cutting, check with your local government or homeowner’s association:
Permits: Some areas require permits for tree removal, especially if the tree is large or in a protected zone.
Tree removal ordinances: Certain communities have regulations about tree removal, especially if it’s near public property or roadways.
3. Gather the Right Tools
If you decide that you can safely remove the tree yourself, make sure you have the proper equipment:
Chainsaw or hand saw: Use a chainsaw for larger trees and a hand saw for smaller ones.
Safety gear: This includes protective eyewear, gloves, a hard hat, and sturdy boots to protect yourself during the removal process.
Ladder: For trees that are taller than you, you’ll need a ladder to reach higher branches.
Rope: Secure the tree and control its fall, especially if you’re worried about it falling in a certain direction.
4. Cut Off Branches First
Start by removing the branches before cutting down the main trunk. This will:
Reduce weight: Making the tree lighter reduces the risk of uncontrolled falls.
Clear obstacles: Removing branches makes it easier to safely work on the trunk.
Ensure control: Use a ladder and hand saw for higher branches, cutting them off in manageable sections. Be mindful of which way the branches are leaning, as they can fall quickly once cut.
5. Fell the Tree Safely
Once the branches are cleared, it’s time to bring the tree down. Follow these steps:
Plan the fall direction: Determine which way you want the tree to fall, ideally in a clear, open space away from structures, power lines, or other trees.
Make a notch cut: On the side where you want the tree to fall, make a 45-degree angle cut about one-third into the tree. This helps guide the fall.
Create a back cut: On the opposite side of the notch, make a horizontal cut slightly above the notch. This should cut through most of the tree, causing it to start falling.
Step back quickly: Once you hear the tree start to crack and fall, step back at a 45-degree angle away from the direction of the fall for safety.
6. Remove the Stump
After the tree is down, you’ll need to deal with the stump. There are a few options depending on your preference:
Stump grinding: You can rent a stump grinder to remove the stump by chipping away at it. This is one of the quickest methods.
Digging it out: For smaller trees, you can dig around the stump and cut the roots, then remove it manually.
Chemical stump removal: Apply stump removal chemicals that accelerate the breakdown of the wood. This process takes several weeks but requires less physical effort.
7. Clean Up the Area
With the tree removed, the final step is cleaning up your yard:
Dispose of branches and wood: Cut larger pieces of wood for firewood or arrange for disposal. Check if your local waste management service offers tree disposal or mulch services.
Fill in the hole: If you dug out the stump, fill the hole with topsoil and level it off to match the surrounding yard.
Replant or landscape: If desired, you can plant a new tree in the same spot or use the space for new landscaping projects.
8. Consider Hiring a Professional
For large trees or those near power lines or structures, it’s often best to hire a professional arborist or tree removal service. Professionals have the expertise and equipment to handle large, potentially dangerous trees safely. While this comes with a cost, it’s worth avoiding the potential risk of injury or damage.
Final Thoughts
Removing a dead tree can greatly improve the safety and appearance of your yard. Whether you tackle the project yourself or hire a professional, make sure to take all necessary precautions to ensure a smooth, safe process. With the tree gone, you’ll also have new opportunities to reimagine your outdoor space!
Investing in a rental property can be a smart financial move, providing consistent income and potential for long-term appreciation. However, becoming a landlord is more than just purchasing a property and finding tenants. It involves careful planning, compliance with legal requirements, and management strategies to ensure success.
Here’s a step-by-step guide on how to set up a rental property effectively:
1. Choose the Right Property
The foundation of any successful rental venture is finding the right property. The type of property you choose will depend on your target market, budget, and location. Ideally, you’ll want a property that appeals to tenants, is in good condition, and will generate positive cash flow.
Key Factors to Consider:
Location: Look for properties in areas with strong rental demand, such as near schools, public transportation, or employment hubs. High-demand areas can help ensure that your property stays occupied and that rent prices remain competitive.
Property type: Decide if you want to rent out a single-family home, a multi-family building, a condo, or even a vacation rental. Each comes with different advantages and management responsibilities.
Condition of the property: Ideally, you should buy a property that doesn’t require major renovations. However, if you’re purchasing a fixer-upper, make sure to budget for repairs and factor them into your rental rate.
Cash flow potential: Estimate the rent you can charge based on the local market and compare it to your mortgage, property taxes, insurance, and maintenance costs to ensure you’ll turn a profit.
2. Understand Local Rental Laws
Before setting up your rental property, it’s essential to familiarize yourself with local, state, and federal rental laws. These laws protect both landlords and tenants, and being unaware of them can lead to costly legal disputes.
Things to Research:
Tenant-landlord laws: These laws regulate things like security deposits, notice periods, and eviction procedures. Make sure you understand your rights and responsibilities as a landlord.
Rental licensing: Some cities require landlords to obtain rental licenses or permits. Be sure to check with your local government to see if this applies to you.
Fair Housing Act: This federal law prohibits discrimination based on race, color, religion, sex, national origin, disability, or familial status. It’s essential to follow these guidelines when screening tenants.
Building codes and safety regulations: Ensure that your rental property complies with local building codes, including having working smoke detectors, carbon monoxide alarms, and sufficient exits.
3. Get the Property Ready for Tenants
Once you’ve purchased your property, the next step is to get it ready for tenants. Whether it’s a new construction or a fixer-upper, making the home livable, safe, and appealing will increase its rental value and attract quality tenants.
Steps to Prepare the Property:
Inspect and repair: Conduct a thorough inspection of the property to identify any issues that need repair, such as leaky faucets, damaged floors, or broken windows. Address any maintenance concerns before showing the property to tenants.
Deep clean: A clean home is more attractive to prospective tenants. Hire professional cleaners if needed, especially for carpets, bathrooms, and kitchens.
Update as needed: Consider updating appliances, paint, or lighting fixtures to modernize the property and make it more appealing to renters.
Safety checks: Make sure all smoke detectors, carbon monoxide detectors, and fire extinguishers are working. You may also want to consider installing security features such as deadbolts or an alarm system.
4. Set a Competitive Rental Rate
Setting the right rent price is crucial to attracting tenants and ensuring a steady income stream. If you set the rent too high, you may struggle to find tenants. If it’s too low, you may not cover your expenses.
How to Determine Rent:
Research comparable properties: Look at similar rental listings in your area to see what they’re charging. This will give you a benchmark for setting your price.
Consider the condition and features: Adjust your rent based on the condition of your property and any unique features, such as upgraded appliances, a backyard, or proximity to amenities.
Factor in expenses: Make sure your rent covers your mortgage, property taxes, insurance, maintenance, and any other operating expenses. Aim for positive cash flow after covering all costs.
Vacancy rate: If there’s a high demand for rentals in your area, you can charge a little more. However, in slower markets, you may need to price more competitively to avoid vacancies.
5. Create a Rental Agreement
A solid rental agreement is essential for protecting your rights as a landlord and setting clear expectations for your tenants. This document will outline the terms of the lease, rules for the property, and procedures for handling issues like late rent or damage to the property.
What to Include in a Rental Agreement:
Rent amount and due date: Clearly state the monthly rent, due date, and acceptable payment methods.
Lease term: Specify whether the lease is for a fixed term (e.g., 12 months) or month-to-month.
Security deposit: Detail the amount of the security deposit, what it covers, and the process for returning it at the end of the lease.
Maintenance responsibilities: Clarify who is responsible for maintaining the property, including lawn care, trash removal, and minor repairs.
Rules and restrictions: Outline rules regarding pets, noise, parking, and alterations to the property (e.g., painting walls, hanging pictures).
Consequences for lease violations: Include what will happen if the tenant breaks the lease, such as late fees for missed rent payments or eviction for non-compliance.
6. Advertise Your Property
Once your property is ready to rent, it’s time to find tenants. Effective marketing will help you reach a larger audience of potential renters and fill vacancies quickly.
Best Ways to Advertise:
Online rental platforms: List your property on popular rental websites such as Zillow, Craigslist, Apartments.com, or Rent.com. These platforms allow you to reach a wide audience of renters actively searching for homes.
Social media: Share your rental listing on social media platforms like Facebook Marketplace, Instagram, and neighborhood groups. Encourage friends and family to share your post to expand its reach.
Yard signs: If your property is in a high-traffic area, placing a “For Rent” sign in front of the home can attract local renters who are already interested in the neighborhood.
Local newspapers or community boards: In some markets, traditional methods like newspaper ads or flyers on community boards still work well to attract tenants.
7. Screen Tenants Carefully
Finding reliable, responsible tenants is key to a smooth rental experience. Tenant screening helps reduce the risk of late payments, property damage, or eviction.
Tenant Screening Process:
Require a rental application: Have prospective tenants fill out a rental application with information about their employment, rental history, and references.
Run a background check: This can include a credit check, criminal history, and eviction records. Many online services provide tenant screening packages for landlords.
Verify income and employment: Ensure that tenants have a steady income that’s sufficient to cover the rent. A common rule of thumb is that tenants should earn at least three times the rent in monthly income.
Check references: Contact previous landlords or employers to verify the tenant’s history and reliability.
8. Prepare for Ongoing Management
Once you’ve secured tenants, your work as a landlord doesn’t end. Managing a rental property involves regular upkeep, addressing tenant concerns, and handling the financial aspects of being a landlord.
Management Responsibilities:
Collecting rent: Make sure you have a reliable system in place for collecting rent, whether it’s through direct deposit, an online payment platform, or checks.
Maintenance and repairs: Respond promptly to maintenance requests and keep the property in good condition to avoid larger, more costly repairs in the future.
Tenant communication: Maintain open lines of communication with your tenants to address concerns, resolve issues, and foster a positive landlord-tenant relationship.
Bookkeeping and taxes: Keep detailed records of your rental income and expenses for tax purposes. Rental properties come with various tax deductions, so staying organized can help you save money.
Final Thoughts: Setting Up a Rental Property for Success
Setting up a rental property requires careful planning and attention to detail. From finding the right property to setting the rental price, marketing the home, and managing tenants, each step plays a vital role in your success as a landlord. By understanding the responsibilities involved and following best practices, you can create a rental that generates consistent income and builds long-term wealth.
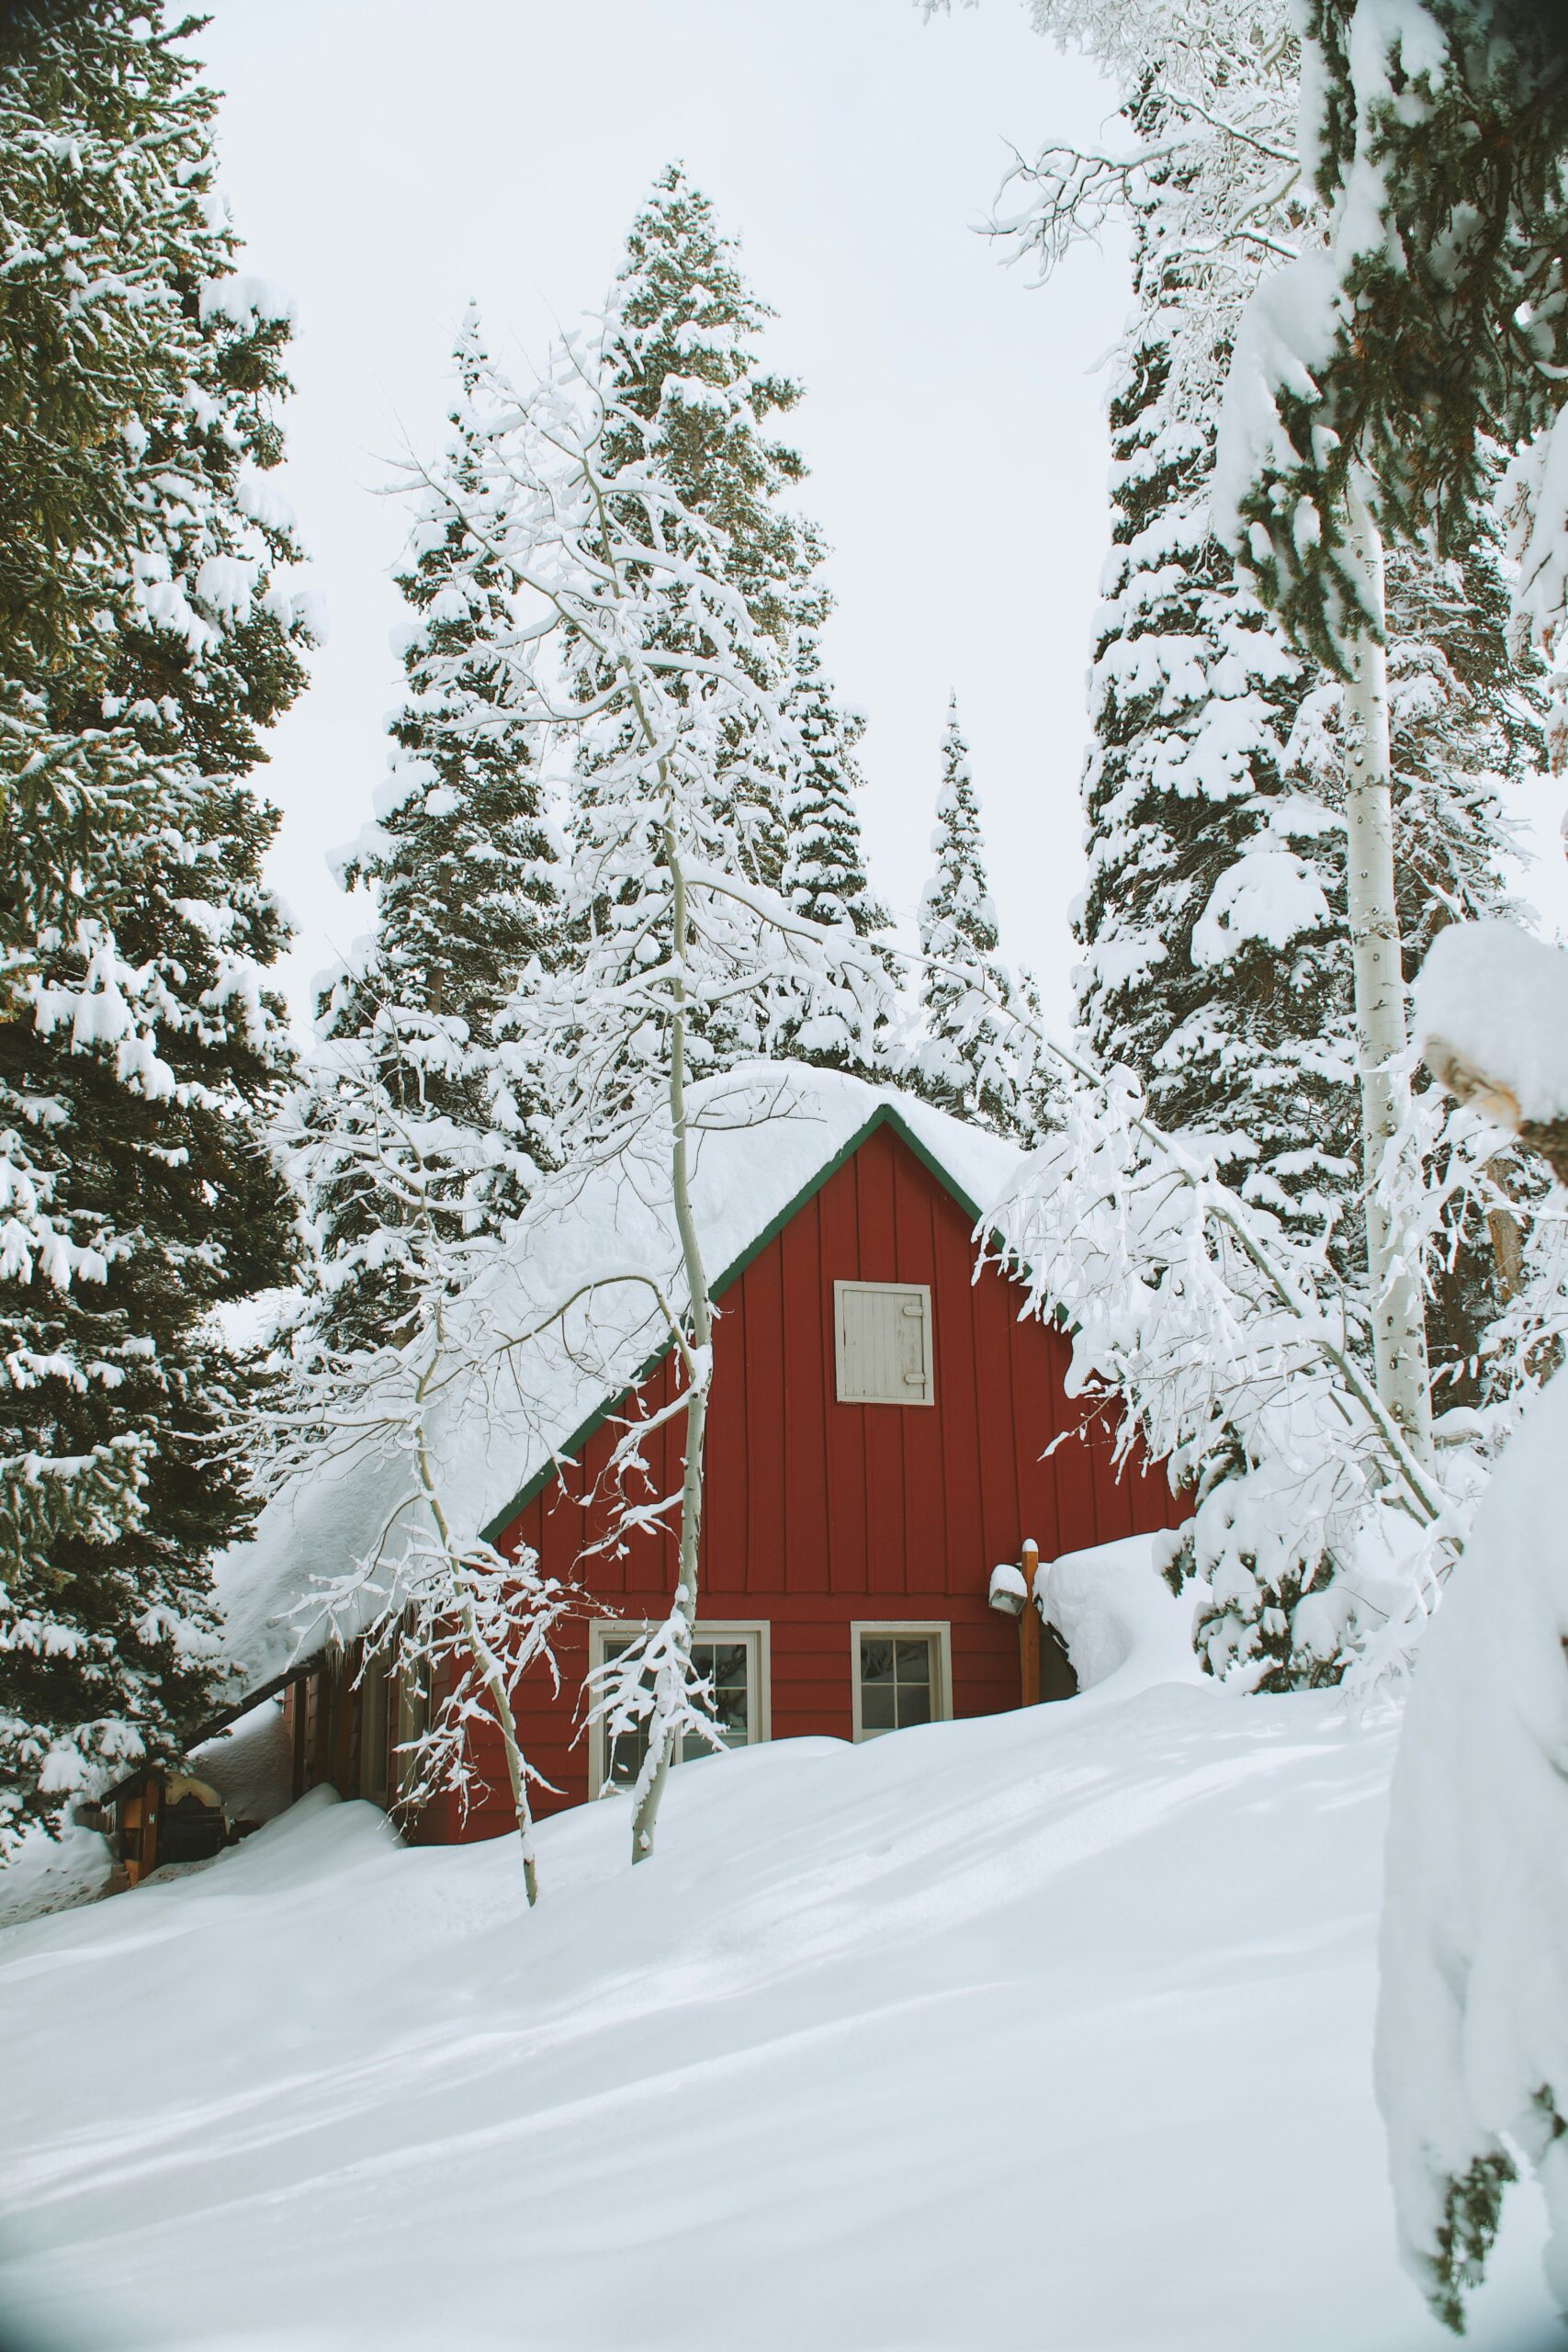
Winter is a beautiful season, but heavy snow can also bring serious challenges. Whether you live in a region where snowstorms are common or you’re preparing for an unusually harsh winter, getting your property ready is key to avoiding damage and keeping your family safe. Here are some essential steps to prepare your property for heavy snow.
1. Inspect and Maintain Your Roof
Your roof is your first line of defense against snow accumulation. Before the snow hits:
Check for leaks and cracks: A small leak can become a big problem with melting snow. Seal any cracks and make repairs now.
Ensure proper insulation: Prevent ice dams, which occur when heat from your home melts snow on the roof, causing it to refreeze at the gutters. Good insulation keeps the roof cold and prevents this.
Install snow guards: These help prevent large sheets of snow from sliding off and damaging anything below, like gutters or landscaping.
2. Clear Your Gutters
Blocked gutters can cause water buildup, leading to leaks and even structural damage once the snow melts. Take the time to:
Remove debris: Clean out leaves, twigs, and dirt from your gutters to ensure proper water flow.
Check downspouts: Make sure water can flow freely and that your downspouts direct water away from your foundation.
3. Trim Overhanging Trees
Heavy snow can break tree limbs, which can fall on your roof, power lines, or vehicles. To avoid this:
Trim back any branches: Especially those that hang over your home or driveway. It’s better to remove them before snow weighs them down.
Inspect for weak limbs: These are more likely to snap under the weight of snow and ice.
4. Stock Up on Essentials
Winter storms can lead to power outages, road closures, and being snowed in. Prepare by:
Stockpiling non-perishable food: Keep enough food for several days, in case you can’t leave your home.
Having a backup heat source: Consider a generator, or ensure you have plenty of fuel for wood-burning stoves or fireplaces.
Gathering snow removal tools: Keep snow shovels, an ice scraper, and salt or sand for walkways on hand.
5. Prepare Outdoor Pipes
Frozen pipes can burst, causing significant water damage. To protect your plumbing:
Insulate exposed pipes: Wrap pipes in unheated areas like garages, attics, and crawl spaces.
Drain outdoor hoses and faucets: Shut off water to outside faucets and disconnect hoses to prevent freezing.
6. Reinforce Doors and Windows
Cold air and moisture can seep through cracks around doors and windows. Improve energy efficiency and keep your home warm by:
Adding weather stripping or caulking: Seal any gaps or drafts around doors and windows.
Installing storm windows: These provide an extra layer of protection and insulation.
7. Plan for Snow Removal
Heavy snow buildup can make walkways and driveways dangerous. Plan ahead by:
Arranging for a snow removal service: If you don’t have the equipment, make sure you’ve scheduled a company in advance.
Marking driveway edges: Snow can obscure the boundaries of your driveway, making it hard to clear without damaging landscaping or property. Use stakes to mark the edges.
Clearing walkways and steps regularly: Shovel early and often to avoid ice buildup.
8. Inspect Your Chimney and Heating Systems
With heavy snow comes cold temperatures, so ensuring your heating systems are running smoothly is vital:
Have your chimney cleaned: If you use a wood-burning stove or fireplace, a clean chimney reduces the risk of fire.
Get your furnace serviced: Regular maintenance ensures it’s running efficiently and won’t break down when you need it most.
9. Protect Your Landscaping
Snow can damage shrubs, trees, and gardens. To keep them safe:
Wrap sensitive plants: Use burlap or other protective covers to insulate delicate plants.
Stake tall shrubs: Prevent them from bending or breaking under snow weight by staking them before winter sets in.
10. Check Insurance Coverage
Despite all precautions, sometimes winter weather causes unexpected damage. Make sure your homeowner’s insurance is up to date and covers:
Roof and structural damage from snow and ice.
Water damage from melting snow.
Fallen trees and landscaping issues.
Final Thoughts
Preparing your property for heavy snow may seem like a daunting task, but by taking proactive steps, you can protect your home, minimize damage, and keep your family safe. Stay ahead of the storm, and you’ll be able to enjoy winter knowing your property is ready for whatever comes your way.
Winter in New Jersey can bring picturesque snowfalls, but with the beauty of a winter wonderland comes the responsibility of snow clearing. From sidewalks to driveways and cars, New Jersey residents have a legal and social duty to ensure safety during snowy conditions. Here’s a comprehensive guide to the snow clearing rules and best practices in the Garden State.
1. Sidewalk Clearing is Mandatory
In most towns and cities across New Jersey, homeowners and businesses are responsible for clearing the sidewalks adjacent to their property.
Timing: Many municipalities require sidewalks to be cleared within a specific time frame after the snow stops, often within 12 to 24 hours.
Penalty for Non-Compliance: Failing to clear sidewalks can result in fines, which vary by town but can range from $25 to $200.
Check Local Ordinances: Rules differ by municipality, so check your town’s website for specific snow removal regulations.
2. Keep Fire Hydrants Accessible
If there’s a fire hydrant near your property, clearing a three-foot radius around it is critical for safety.
Why It Matters: In emergencies, firefighters need immediate access to hydrants, and snow can delay their response.
Best Practice: Make it a habit to dig out the hydrant when you’re shoveling your property.
3. Clear Your Vehicle Properly
New Jersey law requires drivers to remove snow and ice from their vehicles before hitting the road.
The Law: It’s illegal to drive with accumulated snow or ice on your car that could fall off and endanger others.
Fines: Drivers can be fined $25 to $75 for general violations, but if snow or ice causes property damage or injury, fines can skyrocket to $1,500.
What to Do: Clear your roof, hood, windows, and lights to ensure safe driving for yourself and others.
4. Don’t Shovel Snow into the Street
While it may seem like an easy solution, pushing snow into the street is prohibited in New Jersey.
Why It’s a Problem: It creates hazards for drivers and makes plowing more difficult for municipal workers.
Legal Consequences: Some towns impose fines for shoveling snow onto public roads.
Proper Disposal: Keep snow on your property or pile it on the curb away from the road.
5. Respect Parking and Driveway Rules
During snow emergencies, towns often enforce special parking restrictions to facilitate plowing.
Emergency Routes: Many municipalities prohibit street parking on designated snow routes. Cars left on these roads may be ticketed or towed.
Shared Driveways: If you share a driveway, coordinate snow clearing with your neighbors to avoid disputes.
6. Understand Snow Plow Etiquette
Snowplows are a common sight during New Jersey winters, and understanding how to coexist with them is essential.
Stay Clear: Avoid parking or shoveling near plowing zones to ensure efficient clearing.
After Plowing: Be prepared for additional snow buildup at the end of your driveway, often referred to as the “plow pile.” It’s your responsibility to clear it.
Be Patient: Plow operators prioritize main roads and emergency routes before residential streets, so your area may take longer to be cleared.
7. Protect Yourself While Shoveling
Snow removal can be physically demanding, so take precautions to stay safe.
Warm Up First: Stretch before starting to reduce the risk of injury.
Use Proper Tools: Invest in an ergonomic shovel or a snowblower to make the job easier.
Stay Hydrated: Even in the cold, it’s important to drink water while working.
Take Breaks: Don’t overexert yourself, especially if you’re not accustomed to heavy lifting.
8. Be Neighborly
Snowstorms can be challenging for everyone, but a little kindness goes a long way.
Help Seniors or Disabled Neighbors: Offer to clear their sidewalks or driveways if they’re unable to do so.
Be Patient with Municipal Workers: Snow removal crews work long hours in difficult conditions—appreciate their efforts.
9. Know the School and Work Impact
Heavy snow can lead to disruptions in daily life:
School Closures: Check with your local school district for snow day policies.
Remote Work Policies: Many employers now offer remote work options during severe weather, so plan accordingly.
10. Stay Informed
Weather conditions can change quickly, so staying updated is essential.
Local Alerts: Sign up for text or email alerts from your town or county for updates on snow emergencies and parking restrictions.
Weather Apps: Use reliable apps like AccuWeather or NOAA for forecasts and road conditions.
Conclusion
Snow clearing in New Jersey is not just about compliance—it’s about ensuring safety and fostering community. By following local rules, respecting your neighbors, and preparing ahead of time, you can navigate the challenges of winter weather with ease. Stay safe, stay warm, and enjoy the beauty of New Jersey’s snowy season!
Buying a home is exciting, but choosing the right loan can feel overwhelming. With so many options available, it’s crucial to understand the different types of loans to find the one that fits your financial situation and long-term goals. Here’s a guide to help you decide what kind of loan to get when buying a house in New Jersey.
1. Fixed-Rate Mortgage
Best for: Buyers who plan to stay in their home long-term and want predictable payments.
A fixed-rate mortgage is the most popular option. The interest rate stays the same throughout the life of the loan, ensuring stable monthly payments.
Common terms: 15, 20, or 30 years.
Pros: Predictable payments, easy to budget, protection against rising interest rates.
Cons: Higher initial interest rates compared to adjustable-rate mortgages.
2. Adjustable-Rate Mortgage (ARM)
Best for: Buyers planning to sell or refinance within a few years.
An ARM offers a lower initial interest rate for a set period (e.g., 5, 7, or 10 years). After that, the rate adjusts annually based on market conditions.
Pros: Lower starting rates, potential savings if you sell or refinance before rates adjust.
Cons: Payments can increase significantly after the initial period.
3. FHA Loan
Best for: First-time buyers or those with lower credit scores.
Backed by the Federal Housing Administration, FHA loans are more accessible than conventional loans.
Down payment: As low as 3.5%.
Credit score: Acceptable with scores as low as 580 (sometimes lower).
Pros: Easier approval process, lower down payments.
Cons: Requires mortgage insurance premiums (MIP) for the life of the loan.
4. VA Loan
Best for: Eligible military members, veterans, and their families.
VA loans are backed by the Department of Veterans Affairs and offer incredible benefits.
Down payment: None required.
Credit score: Flexible requirements.
Pros: No down payment, no private mortgage insurance (PMI), competitive interest rates.
Cons: A funding fee is required (though it can be financed into the loan).
5. USDA Loan
Best for: Buyers looking to purchase in rural or suburban areas.
The U.S. Department of Agriculture offers loans for eligible properties in designated areas.
Down payment: None required.
Income limits: Must meet income requirements.
Pros: No down payment, low interest rates.
Cons: Only available in specific areas; income and property restrictions apply.
6. Jumbo Loan
Best for: Buyers purchasing high-value homes.
A jumbo loan exceeds the conforming loan limits set by Fannie Mae and Freddie Mac.
Down payment: Typically higher than conventional loans.
Credit score: Strong credit required.
Pros: Allows buyers to purchase luxury or high-value homes.
Best for: Buyers who want lower initial payments and plan to sell or refinance before the interest-only period ends.
This loan allows you to pay only the interest for a set period (e.g., 5-10 years), after which you’ll start paying principal and interest.
Pros: Low initial payments, flexible use of funds.
Cons: Higher payments after the interest-only period, risky if home value decreases.
8. Conventional Loan
Best for: Buyers with good credit and a solid down payment.
Conventional loans are not government-backed and have more stringent requirements.
Down payment: As low as 3%, but 20% eliminates PMI.
Credit score: Typically 620 or higher.
Pros: Competitive rates, flexible terms, no upfront mortgage insurance.
Cons: Higher credit and down payment requirements.
Choosing the Right Loan
Here’s how to decide:
Evaluate Your Financial Situation:
How much can you afford for a down payment?
What’s your credit score?
Consider Your Future Plans:
How long do you plan to stay in the home?
Do you anticipate income changes?
Research and Compare Lenders:
Look for competitive interest rates, fees, and terms.
Get Pre-Approved:
Pre-approval helps you understand your budget and makes your offer more attractive to sellers.
Final Thoughts
The right loan depends on your unique financial situation and homeownership goals. Whether you’re a first-time buyer, a veteran, or someone upgrading to a dream home, there’s a loan option tailored to your needs. Take your time, do your research, and consult with a trusted lender or financial advisor to make the best choice.
Your dream home in New Jersey is within reach—choose the loan that brings you closer to it!
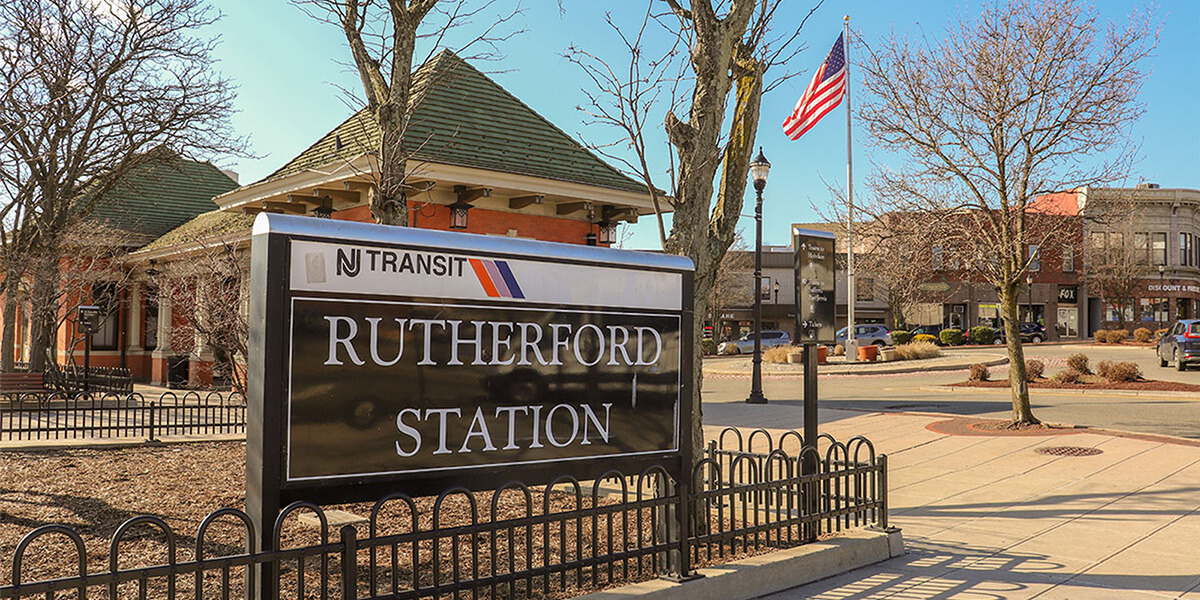
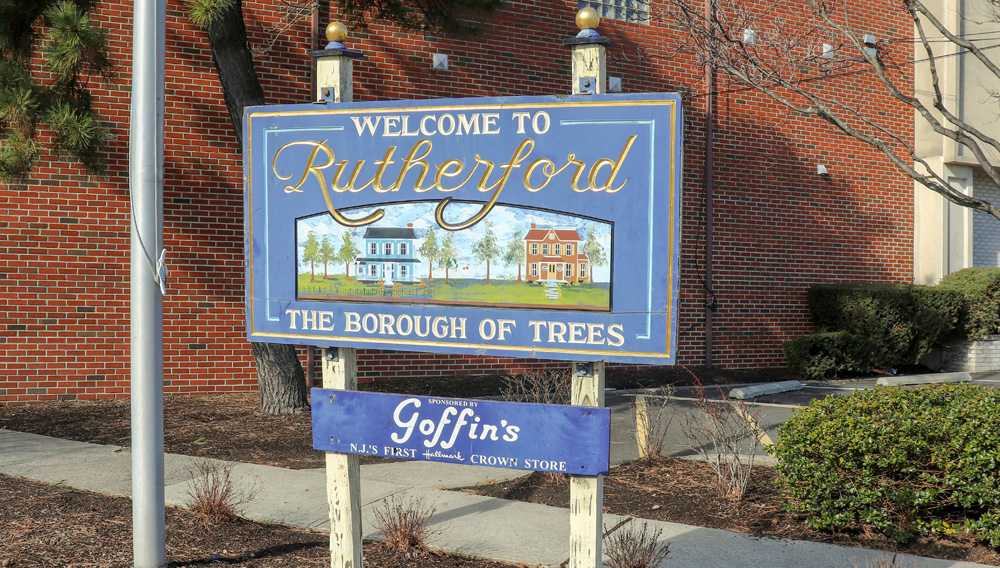
Rutherford, NJ, is known for its charm and suburban feel, but some of its best neighborhoods are often overlooked by homebuyers. Areas like the West End and The Heights offer great value with larger homes for sale, tree-lined streets, and a close-knit community.
While the downtown area gets plenty of attention, these hidden gems offer more affordable property values while still providing easy access to everything Rutherford has to offer, from parks to schools and transit options.
If you’re looking for a quieter, more serene lifestyle, these neighborhoods are well worth exploring for your next real estate investment.
As temperatures drop, it’s time to prepare your home for the cold months ahead. Winter-proofing not only ensures your comfort but also saves money on energy bills and prevents costly repairs. Here’s a comprehensive guide to getting your home winter-ready.
1. Seal Drafts and Insulate
Cold air sneaking into your home can significantly raise heating costs.
Check Doors and Windows: Inspect for drafts and apply weatherstripping or caulk around frames. For older windows, consider shrink-wrap insulation kits for an added barrier.
Upgrade Insulation: Ensure attics, walls, and crawl spaces are properly insulated. Poor attic insulation is one of the leading causes of heat loss.
Use Draft Stoppers: Place these at the base of doors to block cold air from creeping in.
2. Service Your Heating System
A well-maintained heating system is essential for staying warm efficiently.
Schedule an HVAC Checkup: Have a professional inspect and tune up your furnace or boiler. Replace filters monthly to ensure proper airflow.
Inspect Radiators and Vents: Clear any obstructions and ensure heat can flow freely into rooms.
Consider a Smart Thermostat: Programmable thermostats allow you to control heating more efficiently, saving on energy costs.
3. Prevent Frozen Pipes
Frozen pipes can burst, causing extensive damage. Take these steps to avoid this costly disaster:
Insulate Pipes: Use foam insulation sleeves on pipes in unheated areas like basements, garages, or exterior walls.
Let Faucets Drip: When temperatures plummet, a slow drip keeps water moving and prevents freezing.
Shut Off Outdoor Faucets: Disconnect hoses and shut off water to exterior spigots. Use faucet covers for added protection.
4. Protect Your Roof and Gutters
Snow and ice can wreak havoc on your roof and gutters if not properly maintained.
Clean Gutters: Remove leaves and debris to prevent ice dams, which can cause water damage to your roof and walls.
Inspect for Damage: Check for missing or damaged shingles and repair them before the first snow.
Install a Roof Rake: Use it to safely remove heavy snow buildup, reducing the risk of roof collapse.
5. Improve Energy Efficiency
Simple upgrades can make a big difference in your energy bills.
Upgrade to Energy-Efficient Windows: If replacing windows isn’t an option, use thermal curtains to block drafts.
Reverse Ceiling Fans: Set them to spin clockwise at a low speed to push warm air down from the ceiling.
Use a Humidifier: Moist air feels warmer, allowing you to set your thermostat lower without sacrificing comfort.
6. Test Safety Devices
Winter increases the risk of house fires and carbon monoxide poisoning.
Check Smoke and CO Detectors: Replace batteries and test functionality.
Service Chimneys and Fireplaces: Have them cleaned and inspected to prevent chimney fires and ensure proper ventilation.
Install a Fire Extinguisher: Keep one in an easily accessible location, especially near the kitchen or fireplace.
7. Prepare for Power Outages
Winter storms can lead to extended outages, so it’s best to be prepared.
Stock Emergency Supplies: Include flashlights, batteries, a first-aid kit, and non-perishable food.
Invest in a Generator: A portable generator can power essential devices during outages.
Keep Pipes Warm: In a power outage, open cabinet doors under sinks to allow warmer air to circulate around the pipes.
8. Exterior Preparations
Don’t forget the outside of your home.
Trim Tree Branches: Prevent damage to your home from falling branches weighed down by ice or snow.
Apply Salt or Sand: Keep sidewalks and driveways safe by reducing ice buildup.
Inspect Storm Doors and Windows: Ensure they’re functioning correctly to provide extra protection against the cold.
Conclusion
Winter-proofing your home is an investment in your comfort and safety. By taking these proactive steps, you’ll stay cozy throughout the season, save money on energy bills, and avoid unexpected repairs. Start your preparations early and enjoy a worry-free winter in a warm and secure home!